I have been a little slack lately with the blog but I have a good excuse, my Midwifery classes have started back up again. Two years down, three years to go! At least it's part time, so still plenty of time to craft, sew and cook with the kids and I can sneak in the blog between studying for pathophysiology and writing hospital briefing reports!
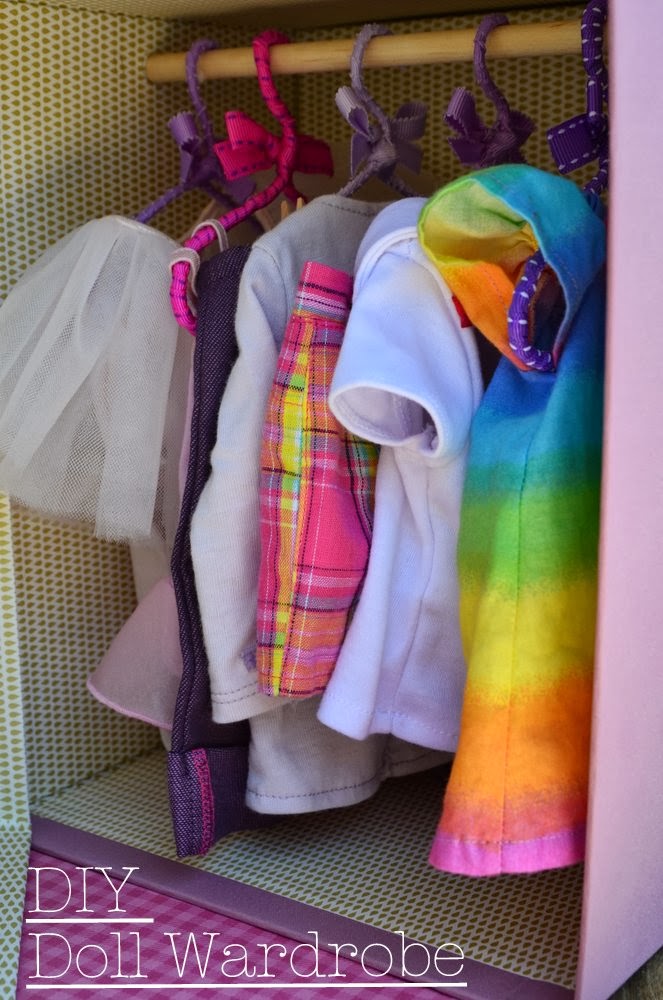
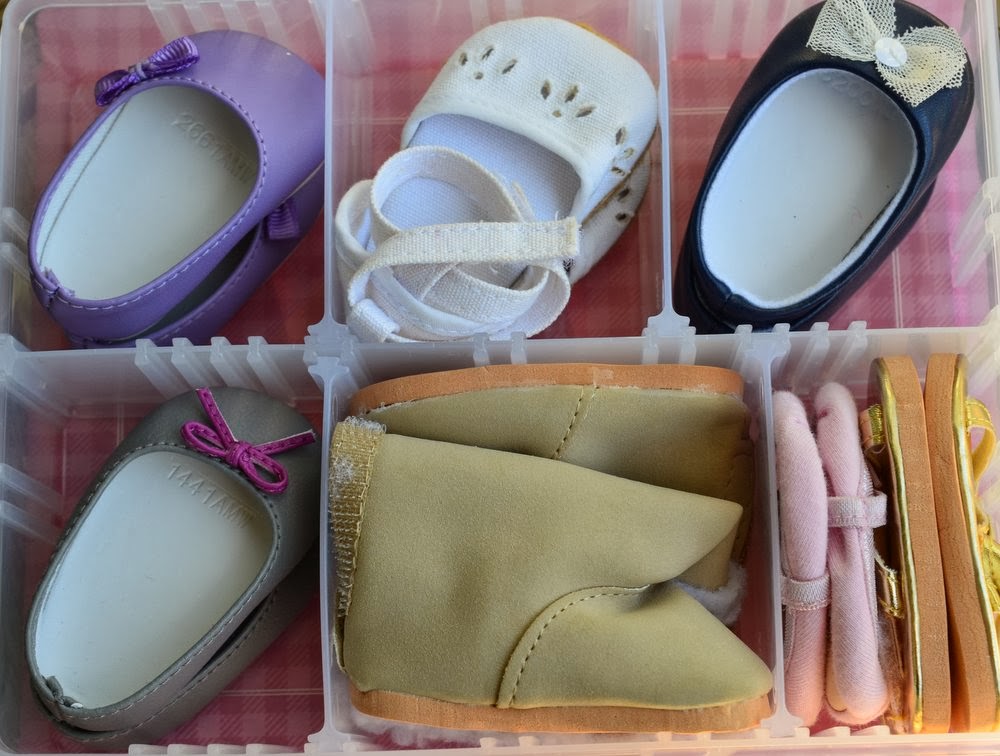
I recently made Isla a doll's wardrobe as she's been playing with her American Girl Doll a lot lately. She needed a way to store her doll's clothes and shoes other than just shoving them into a box. So I got to thinking about an inexpensive and cute solution. Here's what I came up with.
First you'll need to gather your supplies:

2mm gage wire
3 small hinges
Pretty grosgrain ribbon (around a metre per hanger)
1 dowel
Plastic nuts and bolts box (any hardware store will have this)
Glue gun
Box with a lid
Wire cutters
For the wardrobe box, I wanted something that was pretty but also sturdy and affordable. I found this really cute box at Ikea on a recent visit when I bought the picture frames from the last blog post.

The Pallra box was the prefect size, durable and a reasonable price.
Start by first making the hangers. I cut eight pieces of 2mm gage wire into 15 inch long pieces.
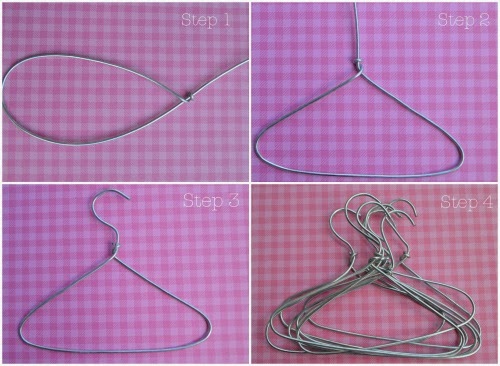
Next using both hands pull the loop in opposite directions to create a triangular shape (step 2).
Then curve the three inches above the loop to make the neck of the hanger (step 3).
After making your first hanger, place it on some paper and trace around it. Use this as a template for the remaining hangers to get them generally the same shape and size (step 4).
Once you've made all of your hangers it's time to make them look pretty.
Place a dot of hot glue at the point on the hanger where you wrapped the wire around to form the loop. Secure the ribbon to the wire at this point. Begin to wrap the ribbon around the hanger and make sure to completely cover the wire. Place a dot of hot glue whenever you get to a corner to insure that the ribbon stays in place. Continue until the hanger is completely covered.
You can add a sweet embellishment by tying a little bow out of the ribbon (make sure you melt the ends with a lighter so the ribbon doesn't fray) and hot glueing it onto the neck of the hanger, this will also hide any imperfections that may have occurred when wrapping the neck.


Now it's time to work with your wardrobe box.
Measure and cut your dowel to the correct length. A little longer is better for a snugger fit. Then work out where you want to position your dowel and mark it with a pencil. Make sure to test out the height of where you've positioned the dowel to insure that you can remove the hangers easily. When you're happy with where it's positioned, hot glue it into place.

To secure the hinges onto your wardrobe door and box, you can simply hot glue them into place. If you're using a thicker box or wood, I would definitely secure the hinges with screws.


Voilà, a sweet, simple and inexpensive doll's wardrobe that will definitely bring a smile to your little bears face :)
No comments:
Post a Comment